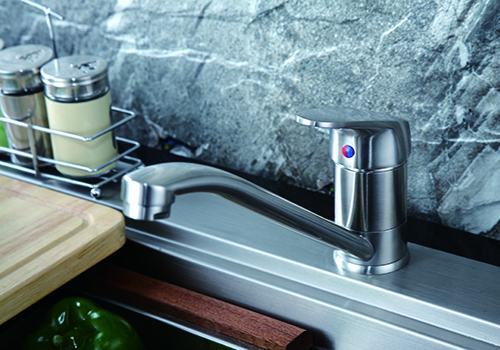
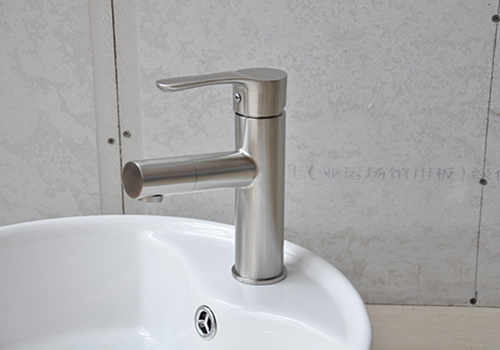
There are various reasons you might need to replace your shower spout. Perhaps the old one broke and you need a new one, or maybe your current shower spout offers poor water pressure. Many people choose to install handheld shower spouts, and rain shower spouts are getting more popular. Replacing shower spouts is easy to do, and it’s an appropriate adjustment for renters because the old spout can be returned when you move out, leaving the residence in the same condition it was in when you moved in and allowing you to take the nicer shower spout with you. Here is how you do it.
1. Choose a New Shower Spout
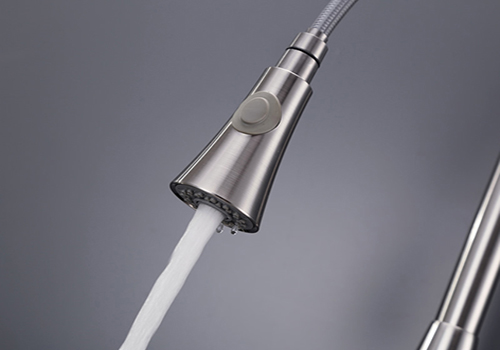
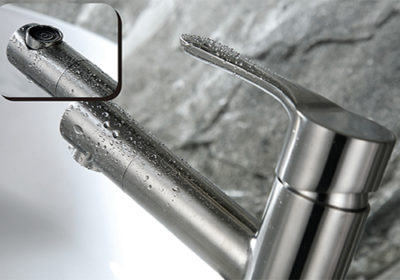
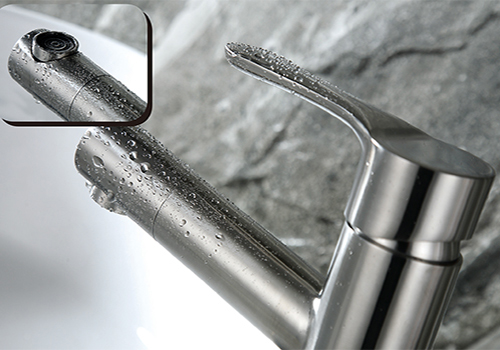
Before you start, you need a new shower spout. There are a few things to consider when you’re choosing. First off, while price might be a concern, you’ll want a good one, because you don’t want it to leak or break quickly. Consider spending a few more dollars on a quality spout. Second, you should think about water pressure. You might want the water stream to be stronger, or maybe water consumption is a concern of yours, and you want one with lighter pressure that uses less water. Last, choose one you like the look of. There’s no point in replacing your shower spout with something ugly.
2. Gather Materials
You’ll need a few tools and supplies to replace your shower spout. Get these things together in advance:
*a) A new shower spout: This is an obvious part of the job. If you’ve done the first step, you should already have one.
*b) A wrench: An adjustable wrench is best; otherwise you’ll need one that fits the exact size of the bolts. You’ll need this to loosen the bolt holding the old shower spout and to tighten the bolt when you put in the new one.
*c) A pair of pliers: You might not need these, but they could come in handy.
*d) Plumbing tape: This is also optional, but it can help keep your shower spout from getting
3. Take the Old Shower Spout Off
You’ll need the wrench for this step. Use your pliers to hold onto the pipe, or use your hands if you have a strong enough grip. Tighten your adjustable wrench to fit snugly around the bolt holding the shower head, or choose a wrench that fits around it well. You don’t want it to be too loose or too tight. Turn the wrench slowly counter-clockwise. Be careful not to turn it too hard, because you could break the pipe. You should feel it get looser after a couple of turns. Keep doing this until you can unscrew the bolt by hand, and gently take off the old spout.
4. Clean up the Area Around the Spout
Sometimes, a bit of dirt might come out of the old spout or plumbing. Also, if you live in an area with hard water, there could be mineral deposits around the pipe. Clean this up as best you can before you put on the new spout. Make sure you also dry off the area well, because it will be easier to work if there isn’t much water around.
5. Apply Plumbing Tape to the Threads
You don’t need to do this, but it can help keep your shower spout sealed and hold it more securely in place. Wrap the plumbing tape around the threads three or four times, and then cut it off. Press the tape into the threads to make sure it’s snug.
6. Screw on the New Spout
Slowly screw the new spout onto the pipe. When it’s on, take your wrench and tighten it as much as you can. You don’t want to do this too much, though, because you don’t want to break the bolt or pipe. If you’re installing a hand-held shower spout, this step is the same, except you will be installing the mount onto the pipe. After you’ve done this, you’ll need to connect the hose to the mount.
7. Test the New Spout
When you’re finished, test the new spout to make sure that the bolt is tight enough and there are no leaks. You’ll also want to make sure the new spout works properly. You can do this by turning on the tap. You may have to wait a couple of seconds for the water to come through the new spout, especially if you’ve installed a handheld spout, because water must flow through the hose.
8. Redo Your Work, if Needed
You only need to take this step if there were major leaks when you tested your new spout. If you’ve tightened everything and it’s still leaking, you need to redo all the above steps. If you do this and there are still leaks, the spout is probably defective and you should exchange it for a new one.
Installing a new shower spout is one of the easiest home repairs you can do. It’s just a matter of simply screwing and unscrewing bolts and making sure things are tight. Always remember to test your new spout when you’re finished. A leaky shower can be costly in wasted water, and it can cause water damage in the bathroom.


