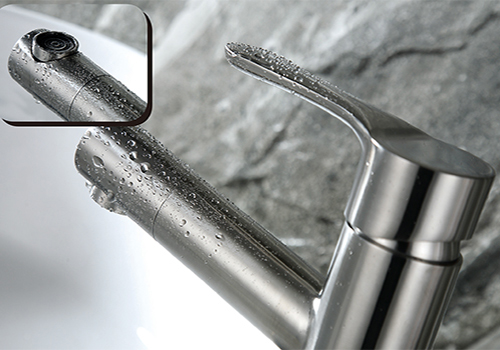
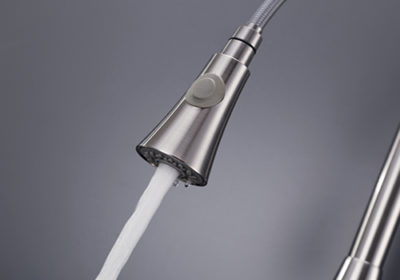
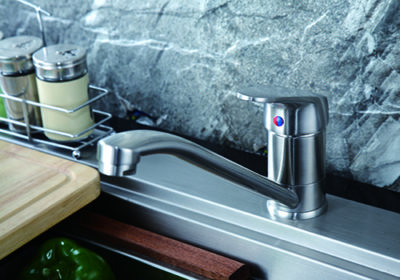
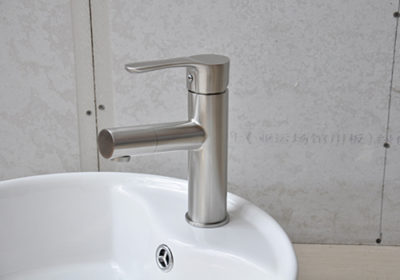
If you have a kitchen or bathroom faucet with only one handle that swings up and down and side to side, you have a rotating or rotary ball faucet. This particular type of faucet is prone to leaking, but repair is fairly straightforward and is done by anyone with minimal plumbing skills.
1. Gather the needed tools
The necessary tools and parts include pliers, screwdrivers or Allen wrenches, a new rubber seat and spring from the hardware store and seat lubricant. Vaseline works well as a lubricant. There is no need to check for part numbers or the manufacturer of your faucet, as there is one universal size of replacement rubber seats and springs.
2. Turn off water supply
Turn off the water supply to the faucet. If there is no shutoff valve on your sink, turn off the main water supply.
3. Remove the handle
Remove the ball assembly by loosening the screw that holds the handle on, and lift off the handle. Remove the bonnet nut holding the ball in place. Lift the ball and top ring straight up and set them aside.
4. Remove the spring and seat
Remove the spring and rubber seat from its cylinder. Lubricate the new rubber seat by rubbing lubricant on the outside surfaces of the seat and place the new spring and rubber seat in its cylinder.
5. Put it back together
Lift the ball and top ring straight up and set aside. Reattach the handle and tighten the set screw to hold it in place.
6. Check for drips
Turn on the water and rotate the handle through hot and cold to check for correct installation. Shut off the faucet and check that there are no drips.
Repair of a rotating ball faucet is similar to the replacement of parts on any faucet. Do-it-yourself small plumbing repairs save you a lot of money with a small investment of your time.


